We are going to build a simple calorie-tracking application called
Kilo that allows the user to add and delete food entries for a given date.
All told, there will be five panels: Home, Settings, Dates, Date, and New
Entry. We’ll start off with two panels and work our way up as we
go.
Note:
We will be assigning CSS classes to some of
the HTML elements (e.g., toolbar, edgetoedge,
arrow, button, back). In every
case, these classes correspond to predefined CSS class selectors that
exist in the default jQTouch theme. Bear in mind that you can create and
use your own classes by modifying existing jQTouch themes or creating
your own from scratch; we’re just using the defaults in the examples
here.
We’re going to start from scratch here, so you
can put aside the files you created in the preceding chapters. To begin,
let’s create a file named index.html and add the HTML
given in Example 1 for the Home and About
panels.
Example 1. HTML for the Home and About panels in
index.html
<html>
    <head>
        <title>Kilo</title>
    </head>
    <body>
        <div id="home">
            <div class="toolbar">
                <h1>Kilo</h1>
            </div>
            <ul class="edgetoedge">
                <li class="arrow"><a href="#about">About</a></li>
            </ul>
        </div>
        <div id="about">
            <div class="toolbar">
                <h1>About</h1>
                <a class="button back" href="#">Back</a>
            </div>
            <div>
                <p>Kilo gives you easy access to your food diary.</p>
            </div>
        </div>
    </body>
</html>
|
The HTML here basically amounts to a head with a title and a body with two
children, both divs:
Note:
The href on the Back
button is set to #. Normally, this would tell the browser
to return to the top of the current document. But when using jQTouch, it
navigates back to the previous panel instead. In more advanced
scenarios, you might want to use a specific anchor, such as
#home, which instructs the Back button to navigate to a
particular panel regardless of what the previous panel was.
With the basic HTML in place, it’s time to
add jQTouch to the party. Once you’ve downloaded jQTouch and
unzipped it into the same directory as the HTML document, just add a few
lines of code to the head of your page (Example 2).
Note:
For this and other examples in this book, you
will need to download jQTouch at http://www.jqtouch.com, unzip it, and move the
jqtouch and themes directories
into the same directory as your HTML document. You will also need to go
into the jqtouch directory and rename the jQuery
JavaScript file (such as jquery.1.3.2.min.js) to
jquery.js.
Example 2. Adding these lines to the head of your document will activate
jQTouch
<link type="text/css" rel="stylesheet" media="screen" href="jqtouch/jqtouch.css">
<link type="text/css" rel="stylesheet" media="screen" href="themes/jqt/theme.css">
<script type="text/javascript" src="jqtouch/jquery.js"></script>
<script type="text/javascript" src="jqtouch/jqtouch.js"></script>
<script type="text/javascript">
    var jQT = $.jQTouch({
        icon: 'kilo.png'
    });
</script>
|
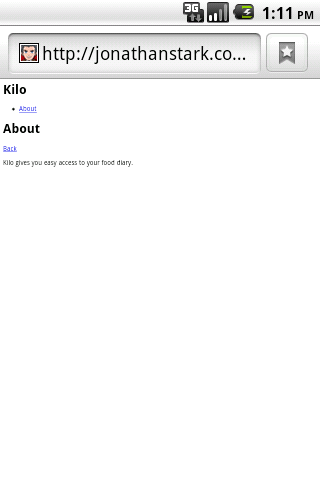
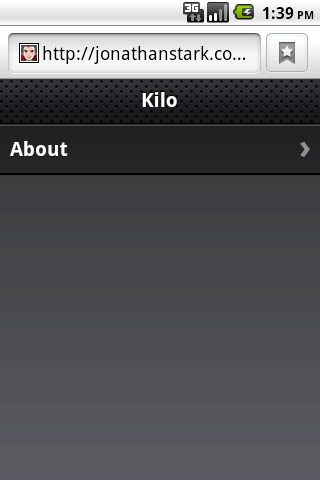
The difference between the application before
jQTouch (Figure 1) and after (Figure 2) is dramatic, but the truly astonishing change
is that you’ve just added gorgeous left/right sliding to your app with 10
lines of code. jQTouch is awesome, and we’re just getting started.